
Getting started#
This section explains how to prepare a Python environment for modelx to use it for sample exercises in this tutorial. We prepare a stand-alone Python environment from a Python distribution prepared for modelx. If you prefer to use your own Python environment, See Installation page for how to install modelx and its relevant packages into your Python environment.
How to interface with modelx#
modelx is a Python package, so to use modelx we can simply
write Python scripts and import it, as we would normally do with
any other Python package.
Likewise, we can also use it interactively from an IPython consoles,
or in Jupyter notebooks.
By convention, It is recommended to import the module as mx:
>>> import modelx as mx
Another way to interface with modelx is through Spyder plugin for modelx on Spyder IDE. The plugin installs custom widgets and custom IPython consoles that allow you to interface with modelx graphically. Using the GUI greatly helps you to understand and interact with modelx models more intuitively. The sample exercises in this tutorial assumes you use Spyder with the plugin.
Setting up Python and modelx#
Setting up a Python environment for modelx is pretty straight-forward. Download the WinPython distribution customized for modelx from here.
This tutorial assumes you’re using the latest modelx and spyde-modelx, so if you have downloaded the distribution before, make sure you update modelx and spyder-modelx to the latest versions by following the instruction here, or download the latest distribution from the site above.
Unzip the downloaded zip file. You can unzip it from the Windows default context menu by right-clicking on the file and select Extract All…, or instead you can use your favorite third party tool for unzipping.
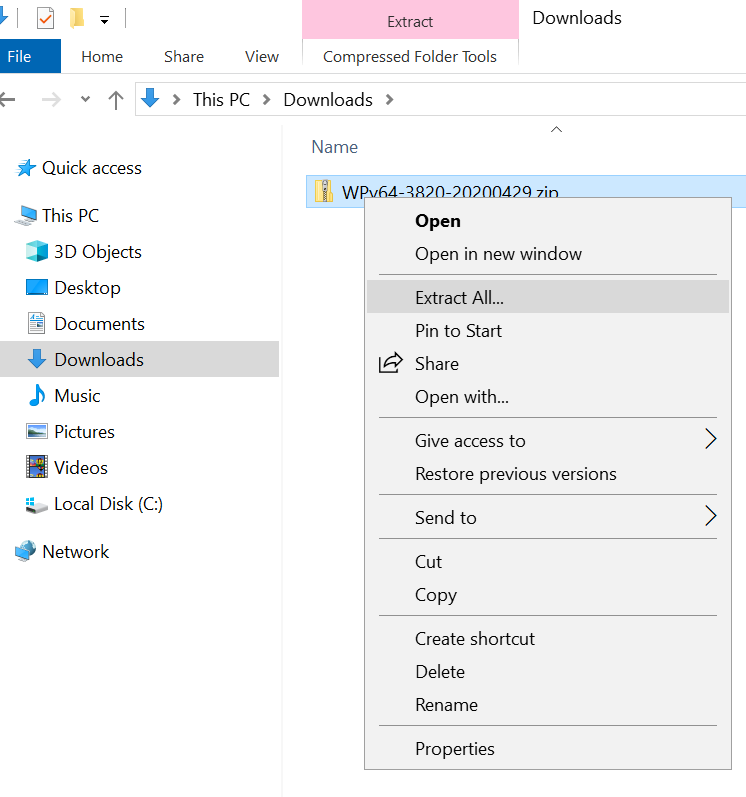
Windows context menu for extracting zip file#
In this tutorial, we use Spyder as a graphical user interface to modelx. The downloaded WinPython comes with Spyder and Spyder plugin for modelx pre-installed and pre-configured, so no need to install them separately.
Within the unzipped folder, find Spyder.exe and start Spyder by double-clicking it.
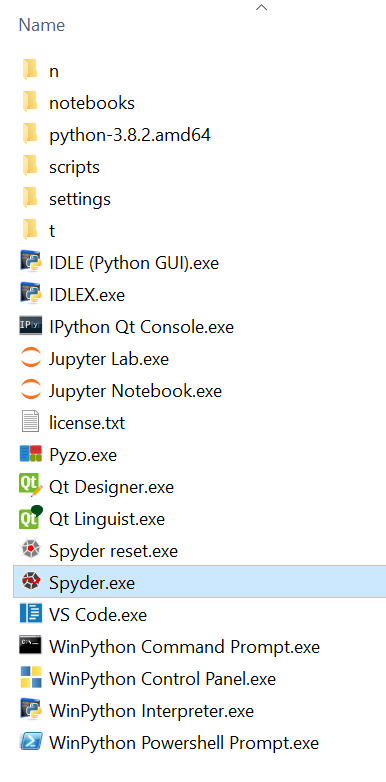
Spyder.exe in unzipped folder#
The Spyder window shows up. You may have modelx widgets showing already upon startup, but if you don’t, bring them up by going to View menu in the menu bar and select Pane and then select three modelx items (MxExplorer, MxDataView, MxAnalyzer) at the bottom.
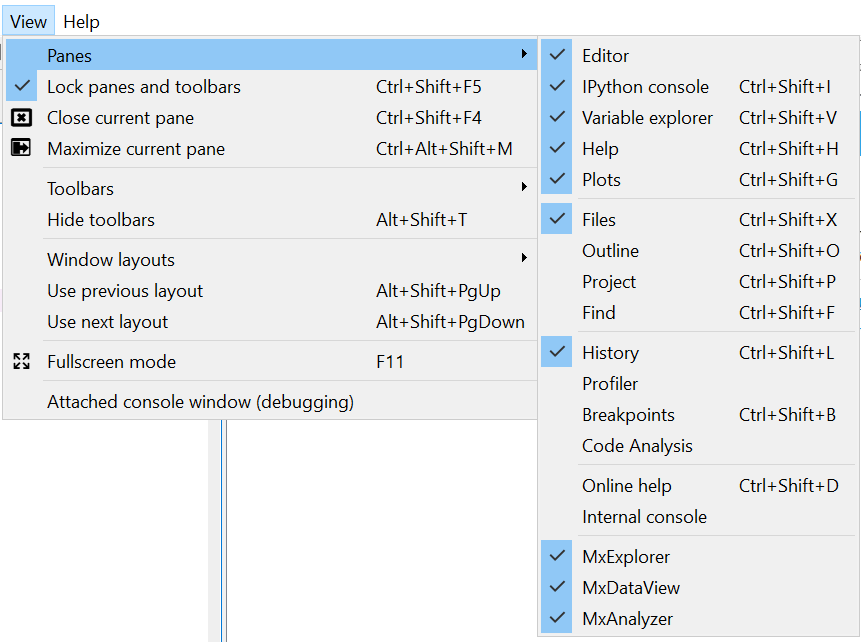
modelx Widgets in View menu#
Now you should be able to see the 3 widgets. You can move them around and change their locations by unlocking panes. To unlock panes, go to View menu and uncheck Lock panes and toolbars item.
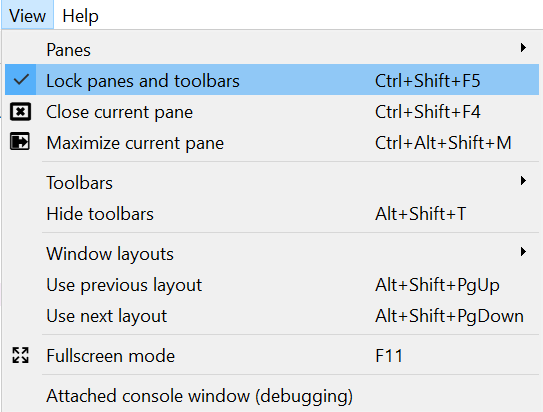
Lock and Unlock Panes#
The last widget to prepare for modelx is MxConsole, an IPython console that communicates with the modelx widgets. modelx works fine in Spyder’s default IPython consoles, but the default consoles do not communicate with the modelx widgets, so you want to use MxConsoles instead. You should have IPython console pane and a tab named Console 1/A. Right-click on the tab, and from the context menu, select New MxConsole.
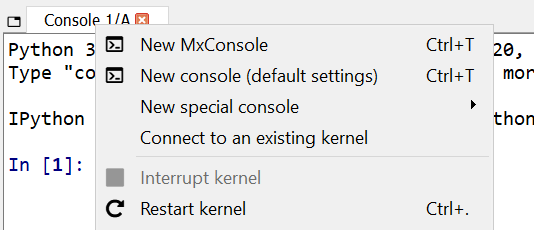
Console Tab Context Menu#
A new tab named MxConsole 2/A is created, and after a few seconds, an IPython session starts in the MxConsole and waits for your input.

MxConsole#